• The SBM Shop
  • About
  • Blog
  • Upcoming Events
  • Eat, Move, Thrive with Dr. Jen
  • GrowCo with Dr. Jen
  • Contact
Menu

Small [but] MIGHTY

1103 3 St S
Swan River, MB, R0L 1Z0
4168434245
Powerful. Mindful. Grateful.

Your Custom Text Here

Small [but] MIGHTY

  • The SBM Shop
  • About
  • Blog
  • Upcoming Events
  • Eat, Move, Thrive with Dr. Jen
  • GrowCo with Dr. Jen
  • Contact
IMG_1708.JPG

Blog

Thoughts on movement, fitness, training and gym culture.

Sunday Sweet Treats: Raw Protein Brownie Bites

August 21, 2016 Jennifer Thomson

And so it begins...meal prep season. It's hard to believe, but tomorrow (yes tomorrow) is actually my first day of school. For today's treat, I wanted to make something something quick and easy, that could serve the purpose of a post-workout snack OR a sweet little pick me up to get me through those '9-hours of lecture' days. I managed to stumble upon a Raw, Paleo, Protein Brownie Bite recipe over at The Healthy Family and Home and when I saw that the recipe utilized my favourite type of protein powder (Garden of Life), I knew it was meant to be! 

I love making 'protein- or energy-' balls because they are kind of like 'choose your own adventure' recipes. Once you cover your bases in terms of a nut butter, some oil, and protein powder, you can pretty much tailor the rest of the recipe to meet your needs and tastes. They are also super simple, most do not require baking, and they can last in the refrigerator for quite some time! You will need a food processor or blender for this one although I had a little bit of difficulty with my VitaMix and ended up mixing the ingredients by hand in the end. If you've got 10 minutes, you have more than enough time to dump these ingredients in a blender, mix 'em, roll 'em, dress 'em and set yourself up for a week filled with tasty snacks! 
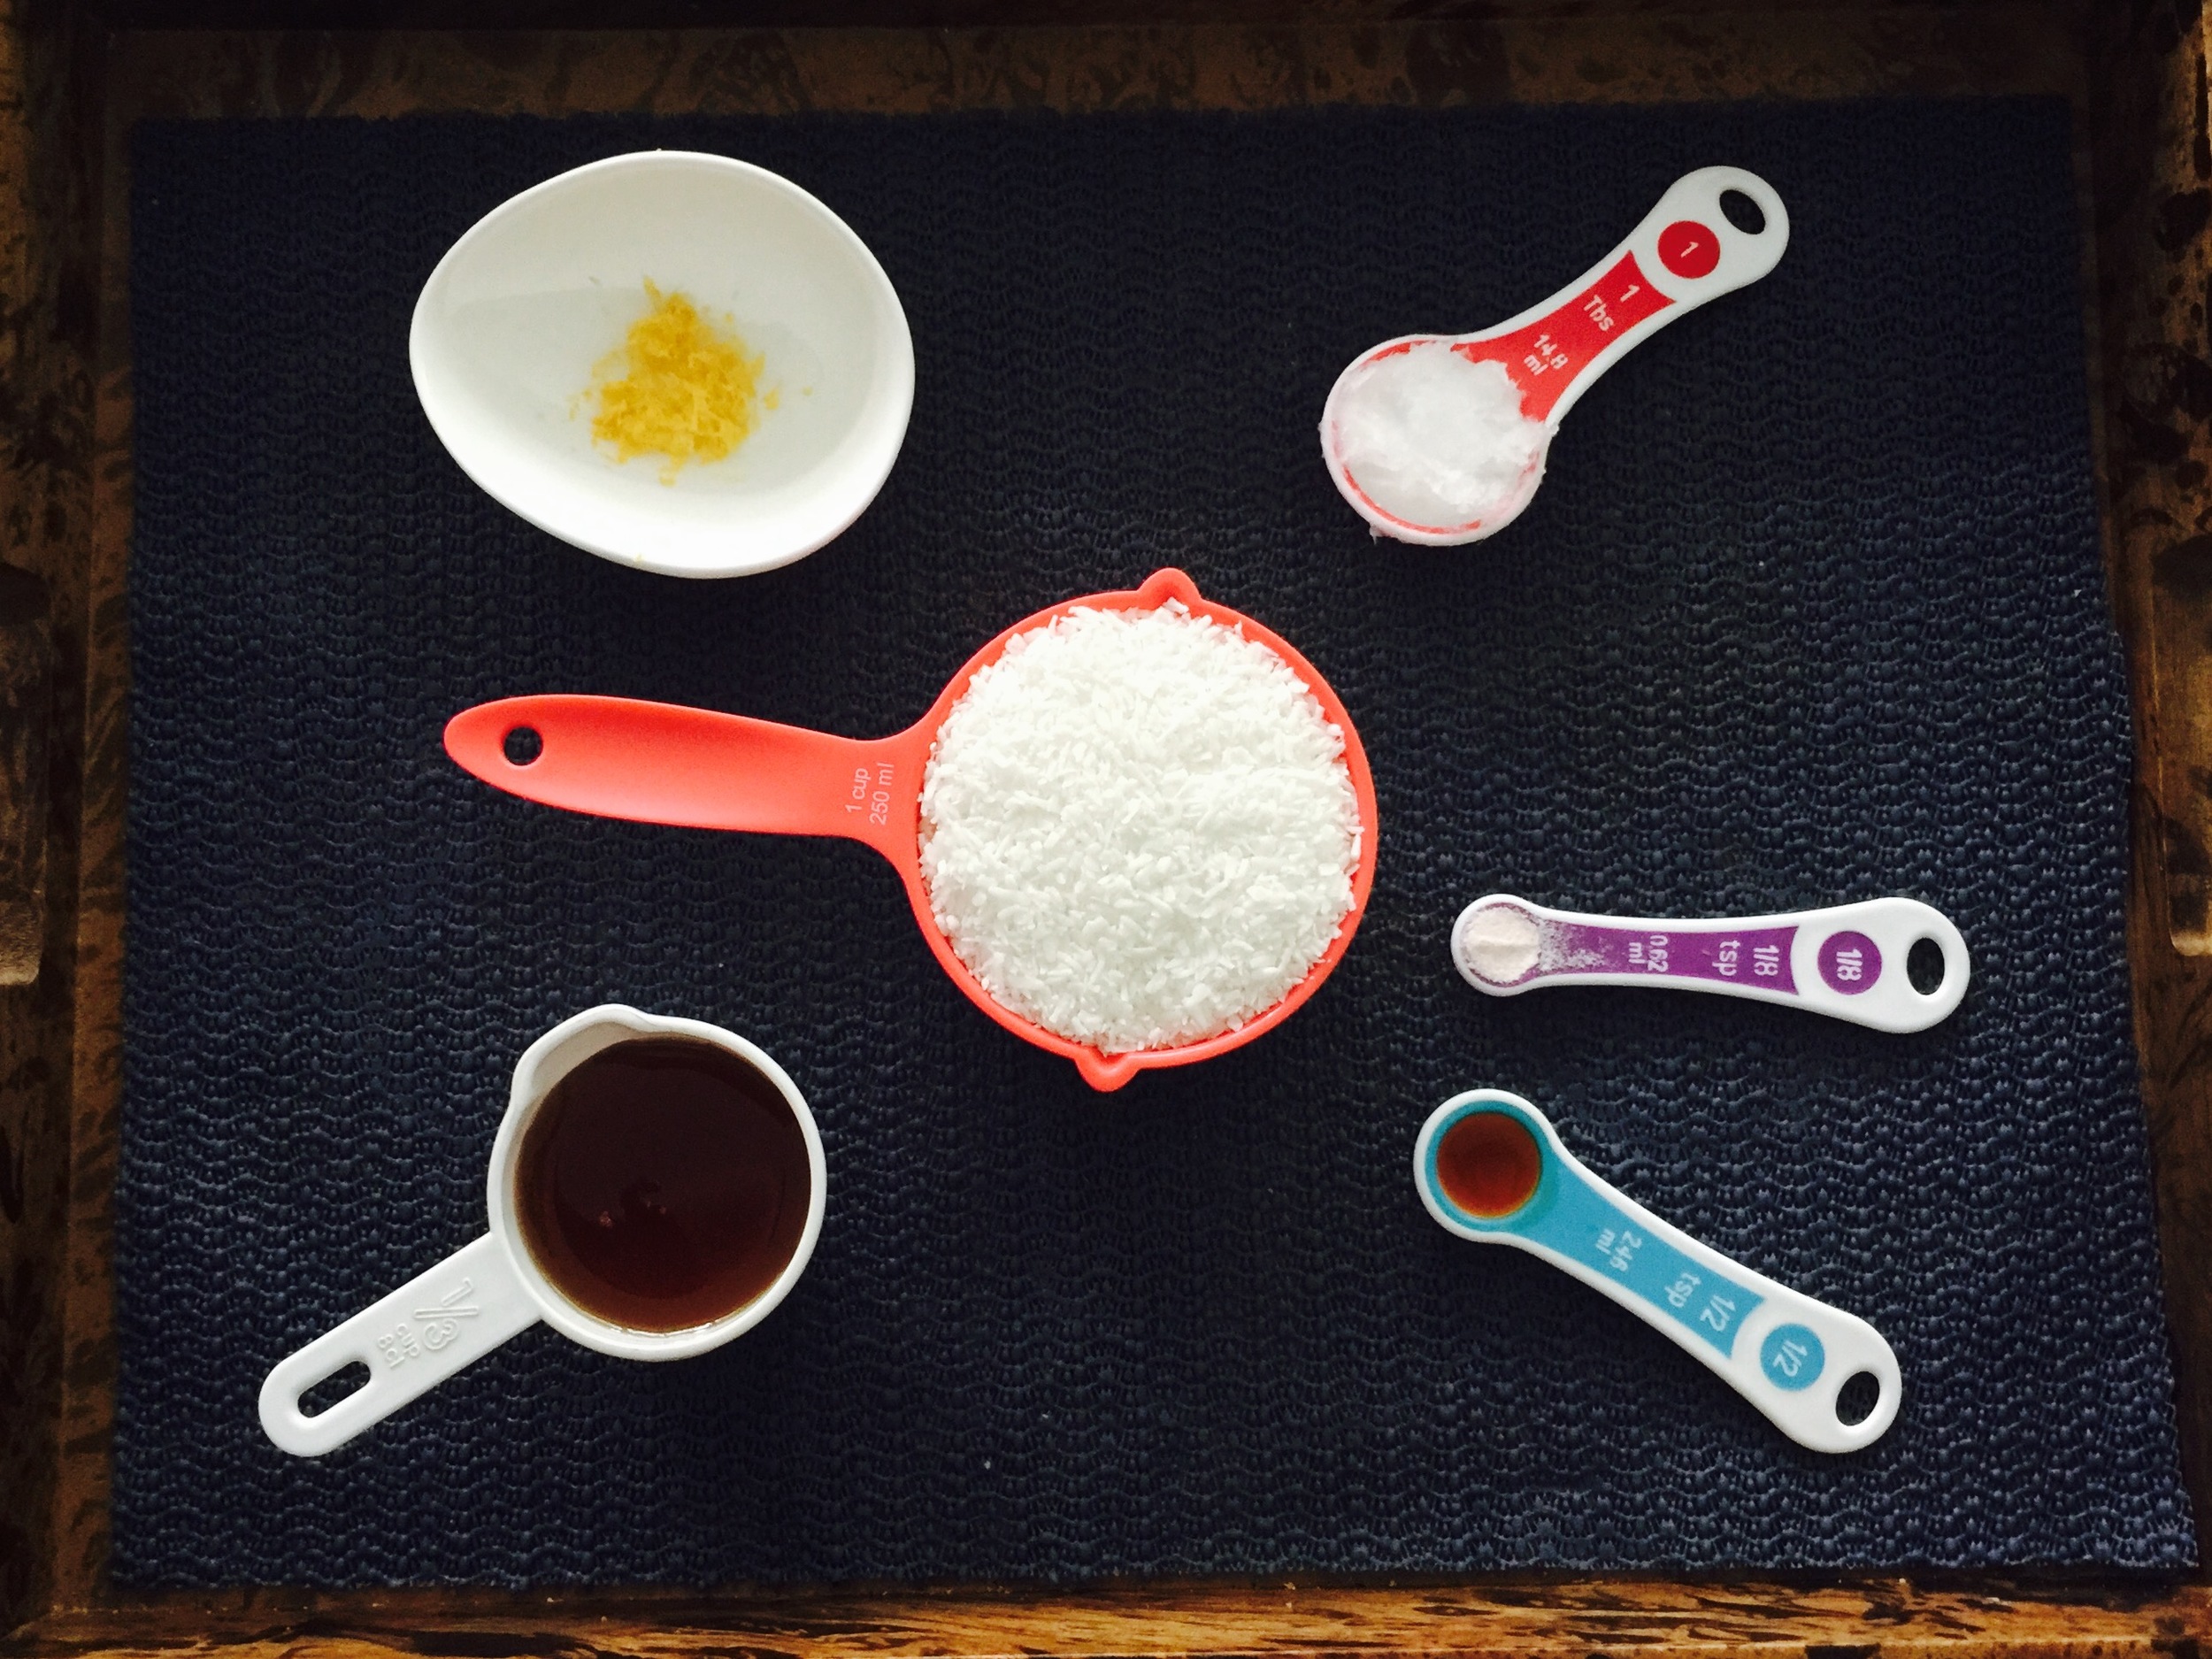
Ingredients:

*makes 10 large or 20 small protein bites

  • 1 cup organic almond flour
  • 1 scoop of Garden of Life Raw Protein (or raw protein of your choice)*
    • * see link above for substitution suggestions
  • 1/4 cup organic sesame seeds
  • 1/4 cup organic chia seeds
  • 1/4 cup organic raw cocoa powder
  • 1/2 cup organic nut butter
    • I used almond butter, but I'm willing to bet almond hazelnut would also be delish!
  • 1 tbsp organic coconut oil (melted)
    • I used 2 tbsp because I wanted a higher fat content, and also because I knew I would be using less than the suggested amount of maple syrup and I wanted to get the right texture
  • 2-3 tbsp of organic maple syrup
    • I dropped this down to 1 tbsp

Directions

  • Combine all ingredients in a food processor and process until well combined. You're going for a crumbly yet paste-type consistency.
  • Roll 'em! Scoop small spoonfuls and squeeze tightly in the palm of your hands. Once well packed, roll then between your palms into a small ball shape.
  • Dress 'em! You can see above that I used two different types of 'dressings' - unsweetened coconut and ground pistachios! Both are so yummy! Other options include cocao nibs, sunflower seeds, or chia seeds
  • Refrigerate and enjoy!
In Desserts, Eat, Food Tags Sunday Sweet Treats
Comment

Sunday Sweet Treats: Stewed Rhubarb

August 7, 2016 Jennifer Thomson
Stewed Rhubard + Chia Seed Pudding

Stewed Rhubard + Chia Seed Pudding

This week's treat brings a whole new meaning to eating fresh, local and seasonal foods as the Rhubarb I used was picked directly from the gardens of Dad and my aunt Sheree in the last few days! The other main ingredient, maple syrup, also came from my Dad's 'farm' located in the Ottawa Valley; I travelled up there for a fast and furious 24 hour retreat with my older brother and nephew this past week (and clearly I stocked up on all the goods)! Stewed rhubarb is one of my favourite summer treats because it is super quick and easy to make and features both a sweet and slightly bitter combination of tastes that is pretty unique. It is delicious on its own, but also pairs perfectly with vanilla ice cream or custard or the 'clean' alternative Chia seed pudding! 

In Canada, Rhubarb typically grows (i.e. is in-season) from late spring to mid-summer, and although it is not technically a fruit, Rhubarb is often 'treated' that way in the kitchen, commonly being used as a main ingredient in pies (e.g. Strawberry Rhubarb Pie, My brother's favourite) and sweet desserts (such as today's recipe). One VERY important thing to note: the leaves are actually quite poisonous (so dispose of them promptly) and although the stalks are less so, it is generally advised that rhubarb should not be consumed raw, so don't sample it upon harvest!


DO NOT EAT THE RAW RHUBARB!


If you buy rhubarb at a farmer's market, typically the leaves will already be removed. In order to prepare the stalks for use in your favourite recipes you chop off the pinkish portion at the bottom of the stalk and peel off  the outermost layer of skin. You can then cut the stalk into bite-sized pieces that can be used for making a variety of sweet summer treats or frozen for later use! This is actually the first step in today's recipe (sourced from Family Food Adventures), so here we go!

Ingredients:

  • 4 cups of rhubarb, cut into bite-sized pieces
  • 1/3 cup of water (or enough to just cover the rhubarb in the pot)
  • 1/4 cup of maple syrup

Directions:

  • Place all ingredients in a small or medium pot and bring to a boil
  • Reduce heat immediately and allow to simmer for 30 minutes, stirring only occasionally 
  • Allow to cool before serving

Thats it, thats all! Super easy, unbelievably tasty and the perfect finisher to a summer Sunday's dinner! Enjoy!

J


In Eat, Desserts, Food Tags Sunday Sweet Treats
Comment

Sunday Sweet Treats: "Who Doesn't Love the Coconut?"

July 31, 2016 Jennifer Thomson

Gloria (Modern Family) said it best:

"Who doesn't love the coconut Jay? Who?"

This super versatile ingredient can play so many different roles in a recipe, from a virtually undetectable crust ingredient (as in last week's Lemon Cashew Cream Cake) to the main star of the treat as in today's

'No Bake Coconut Crack Bars'

sourced from Chocolate Covered Katie. Being that this weekend is a loooong weekend, and with the heat wave we've been having here in Toronto, there were 2 major things I was looking for in this week's sweet treat recipe (in addition to the usual simple + few ingredients + absolutely delectable)

  1. Quick!
    • I did not want to be spending my whole extra day in the kitchen
  2. No Bake!
    • If possible, I wanted to avoid using the oven and heating up the whole house!

Boy did I find a winner!

These 'Coconut Crack Bars' are unbelievably easy to make, require only 5 (with an optional 6th) ingredients and can be ready in as little as 15-20 minutes! Once again, my VitaMix blender came in super handy, doing all the 'hard labour' of the recipe in less than a minute. I have to say, I've become pretty fond of these 'throw all ingredients in a blender/food processor and go' type recipes! So without further adieu, here are the ingredients and directions to one of simplest and tastiest (and apparently most addictive) treats you can make!

Ingredients:

  • 1 cup (80g) unsweetened shredded coconut
  • 1/4 cup agave or pure maple syrup
    • I used maple syrup as I had it on hand and its my favourite!
  • 2 tbsp coconut oil 
  • 1/2 tsp pure vanilla extract
  • 1/8 tsp of salt
  • options
    • raw chocolate chips (You could also try Organic Cocoa Nibs!)
    • lemon zest (I added this as I personally love the taste combo of lemon + coconut!)

*Yields 6-8 bars

Directions:

  • Combine all ingredients in a food processor
    • As I mentioned above, I used my VitaMix blender and simply poured in all the ingredients and mixed on low for about a minute
    • If going this route, you will have to continually push the mixture down/toward the blades or it will gather up along the sides of the container
  • Squish into any small container and refrigerate for 1 hour (or freezer for at least 15 min) before trying to cut

*these bars can be stored in the fridge or freezer for at least a few weeks!

A few extra thoughts

Another reason why I really liked this recipe was because Katie supplied the Nutritional Information per bar! She didn't provide the serving size, so I'm assuming its 1/8th of the recipe!

  • Calories: 100
  • Fat: 8 g
  • Carbs: 7 g
  • Protein: 1.5 g
  • Fibre: 1.5 g

Taking into consideration the consistency of these little treats, the taste and macronutrient profile, I think it could be really cool to try making Coconut Crack Balls -- rolling these little guys up into tbsp sized balls rather than bars. They would be a quick and tasty little treat to grab after a run. I'll post an update if I decide to give this option a try!

So blend, squish, cool..... go outside and enjoy the weather, knowing you'll have a tasty little treat waiting for you when you get home! 

Last little tip: DO NOT TASTE THE RAW MIXTURE... I can almost guarantee it won't make it to the fridge and set phase if you do! So, so yummy!

Announcements!

  • In case you missed is there is 20% off site-wide this weekend with discount code 'HolidayCelebrate' in honour of the long weekend!
  • The August Cycle of Build and Burn begins this Wednesday Aug 3rd at The Underground Dance Centre! Grab your spot and lets get lean and strong together this summer!
    • This program is a perfect cross-training match-up if you're training for a Half- or Full-Marathon this fall with a focus on glute activation and strength, mobility, and single leg strength! 
  • Be sure to register for our newsletter to keep up to date with all of our upcoming events and programming as well as early-bird access and subscriber discounts to all things Small but Mighty!

HAPPY LONG WEEKEND FRIENDS!

J

"Energy flows where attention goes.." -anonymous 


In Eat, Desserts, Food Tags Sunday Sweet Treats
Comment

Sunday Sweet Treat: Lemon Cashew Cream Cake with Blueberry Sauce.

July 24, 2016 Jennifer Thomson

Mmmmmm. I'm a little biased, but this one is absolutely delicious! The original recipe sourced from Every Last Bite is framed as a paleo dessert and was actually called Lemon Cheesecake with Blueberry Sauce; I renamed it because being the Type A that I am I can't call it a cheesecake when there is no cheese in it. Also, when we're talking about a primal diet, Paleo and Cheese in the same name is an oxymoron as the paleo diet generally excludes dairy. Having said all of that, the texture of this treat is very similar to a traditional cheesecake and this dessert certainly shares the rich, sweet taste that is so strongly associated with its cheesecake cousin. 

As the original recipe states, it is quick and easy to make with a prep time of about 15 min (especially if you have 2 fully functioning wrists) and most of the 'grunt' work can be done ahead of time! What makes this recipe different from some of the others I've shared are the number of ingredients and the cost of them. Raw cashews and macademia nuts can be easily sourced from the bulk barn, but they ran me about $20. This dessert is an absolutely lovely treat, and yields about 12 'cupcake-sized' cakes, so it might be a good option for an upscale dinner party or small gathering but it likely won't be your go-to potluck dish! 

Ingredients

Base

  • 1 cup pecans
    • I bought ground pecans from the baking aisle of the grocery store to save myself some of the hassle. 
  • 1 cup dates
  • 1½ tbsp lemon zest
  • 2 tbsp shredded unsweetened coconut

Filling

  • 1½ cups cashews which have been soaked in water overnight
  • 1½ cups macadamia nuts which have been soaked in water overnight
  • 1½ tbsp lemon zest
  • ¾ cup lemon juice
  • 1 tsp vanilla extract
  • ½ cup honey (or agave nectar)
  • ¾ cup coconut oil

Sauce

  • 4 cups blueberries
  • 2 tbsp honey or other sweetener

Directions

  1. Cut cling wrap into 5 x 5 inch squares and line each cup of a 12 cup muffin tin with a square (this will make the cheesecakes easier to remove once frozen).
    • This trick is absolutely genius! It made it so so easy to minimize the mess and to remove the cakes from the tray toward the end of preparation. Try to  err on the large size for the squares so they don't get weighted down and pulled into the muffin tray cups. 
  2. In a food processor combine all of the base ingredients and pulse until pecans/dates are broken into small pieces and it clumps together into a ball.
    • I used my Vita-mix and it worked like a dream. 
  3. Place a heaping tablespoon of the base mixture into each muffin cup and press down with your fingers as hard as possible to create a compact and even base. Place the muffin tray in the freezer
  4. In the food processor add all of the filling ingredients and blend until the nuts have completely broken down and formed a smooth mixture. Make sure there are no large pieces of nut, the entire mixture needs to be smooth and creamy.
    • I again used my Vita-Mix; I had to use the damper to continuously press the the nuts down toward the blades. 
  5. Remove the muffin tin from the freezer and fill each cup to the top with the filling. Place back in the freezer and allow to freeze completely through which should take a minimum of 4 hours.
  6. To make the sauce place the blueberries and honey in a sauce pan on medium heat and cook for 8-10 minutes until the blueberries are beginning to lose their shape and the sauce is bubbling.
  7. To serve, remove the cheesecakes from the tin, allow to thaw for 10 minutes or so and then top with the blueberry sauce. You can serve the sauce hot, room temperature or cold, it tastes fantastic any way. Enjoy!
    • This ten minute thaw time is KEY otherwise the cakes are too solid to spoon into!

The finished product is visually appealing and beyond delicious! If you don't believe me.... take a look at these: 

Happy no-bake baking friends!

J

P.S. Be sure to check out our upcoming events page for all the details on the August Long-Weekend Staycation Mighty-Con Workout! Pre-register now to get your spot!

P.P.S All the deets on the August cycle of Build and Burn beginning Aug 4 are on the same page! Join us to get lean and strong! Get up, get moving, get nourished and get to work! 

In Eat, Desserts, Food Tags Sunday Sweet Treats, dessert, cake
Comment

Sunday Sweet Treats: Raspberry Coconut Chia Ice Pops!

July 3, 2016 Jennifer Thomson

I've just discovered the wonderful world of Ice Pops....I want to make them all! Originally this week I was planning on making Blueberry-Lemon-Basil ice pops, but hey its the Canada Day Long Weekend, so I took a chance and went with something more festive(looking), and boy am I glad I did! These little treats look lovely, taste dreamy, and to me feel like an adult version of what's often viewed as a kid's treat  (chia seeds = fibre, fibre = adult-ing).

This week's recipe came from a website I just recently discovered: Running to the Kitchen. I found Gina's recipe during my search for something seasonal and 'clean' and then discovered that she may be my American Doppelgänger. Check out her 'About' page and you'll understand why (its all about the Weimaraner)! Anywho, on to the recipe for these delectable little treats, because if you start them now, you'll have an awesome dessert to serve with your Sunday dinner!

Like all of the other recipes I have shared thus far, this one is easy to make, has few ingredients (3!!!) and features a tasty, in-season and locally-sourceable ingredient: the mighty raspberry! 

Ingredients:

  • 1 & 1/2 cups of fresh raspberries
  • 1/2 cup of water 
  • 15 oz of full-fat coconut milk
  • 1 & 1/2 tbsp of chia seeds

Equipment:

  • Blender
  • 6x 9-oz Dixie Cups and Popsicle Sticks OR Ice Pop Moulds 
    • Note, if you're using Ice Pop Moulds, you need to find a model that does NOT cover the base of the pop or that will stand on its own as you gradually add layers to this recipe. 

Directions:

  1. Place raspberries and water in a blender and blend until smooth.
    • You can add fresh-squeezed lime juice or honey to this step if you wish
  2. Pour ~2 tbsp of raspberry puree into each cup, saving the remainder for later. Place cups/moulds in the freezer for 30-45 minutes.
  3. Whisk together the coconut milk and chia seeds in a small bowl.
    • You can add coconut or vanilla extract here if you wish.
  4. Remove the cups from the freezer and distribute coconut milk mixture evenly among the 6 cups/moulds.
  5. Return cups to the freezer for another 30-45 minutes.
  6. Remove cups/moulds from the freezer and place a popsicle stick/handle in the middle of each cup. Return to the freezer for another 30-45 minutes.
  7. Lastly, distribute the remaining raspberry puree into the cups and freeze until set (at least 4 hours).
  8. If using paper dixie cups, remove treats from the freezer and peel paper cups off immediately before serving! 

Et Voila...

You have a festive-looking nutritious and delicious treat to serve on this beautiful long weekend!

One thing to note....

There seems to be a dixie cup shortage in Toronto (lol); after trying 3 different stores, I could only find 3 oz cups! This means that each layer of ingredients was a little 'thicker' and required more time to set! If you do happen to find and use 9 oz cups (1) Let me know where you found them! and (2) sticking to 30 min freeze times should be sufficient! If you use smaller cups, be prepared to let your pop set/freeze a little longer for each step! 

Happy Canada Day Long Weekend Friends, and I hope you have a serene Sunday!

J

P.s. 

  • New Women's Tanks have arrived in the Shop! Check them out here! 
    • Don't forget there is 15% off site-wide with code "Canada2016"!!!
  • Build and Burn starts tomorrow!!! Click here to join us for a drop-in, week, or for a 2 or 3 day a week month program!
    • Don't forget there is 15% off site-wide with code "Canada2016"!!!
  • Join our newsletter (we won't spam you) to get all the most up-to-date info on programming, events, recipes and discounts! 
In Eat, Food, Desserts Tags Sunday Sweet Treats
1 Comment
Older Posts →